
Git 102
Starting with Git and GitHub at CHOP
Command line?
OK, so the good news is that if you hate working with the command line (aka typing cryptic things at a prompt in a terminal window), you can do most or all of what you need to do without using it at all. The bad news is that if you have to do something complicated (like blow away the last 3 commits and remove any evidence they ever happened), that’s command line territory. If you dig the command line interface (CLI) or do a lot of computing in a linux flavor that doesn’t have a GUI, you certainly can do regular command-line git all the time instead of using graphical tools, but this article is not really for you. A good series of short lessons about using the command line can be found at http://swcarpentry.github.io/git-novice/.
CHOP GitHub
To remind you of what you’ve read before in Git 101, GitHub is an application that uses git. GitHub has a website at https://github.com and also has free client software that you can use as a stand-alone tool on your computer, or as a way to communicate and pass information back and forth to the website. GitHub also licenses “Enterprise” copies of its website software, so that companies like CHOP that want to use its powerful interface, but can’t put valuable assets out on the web where everyone can see them, get their own local GitHub website. That, in our case, is https://github.research.chop.edu.
Logging in and Setting Up
You can log in with your regular CHOP credentials by clicking on “Sign in” in the upper right:

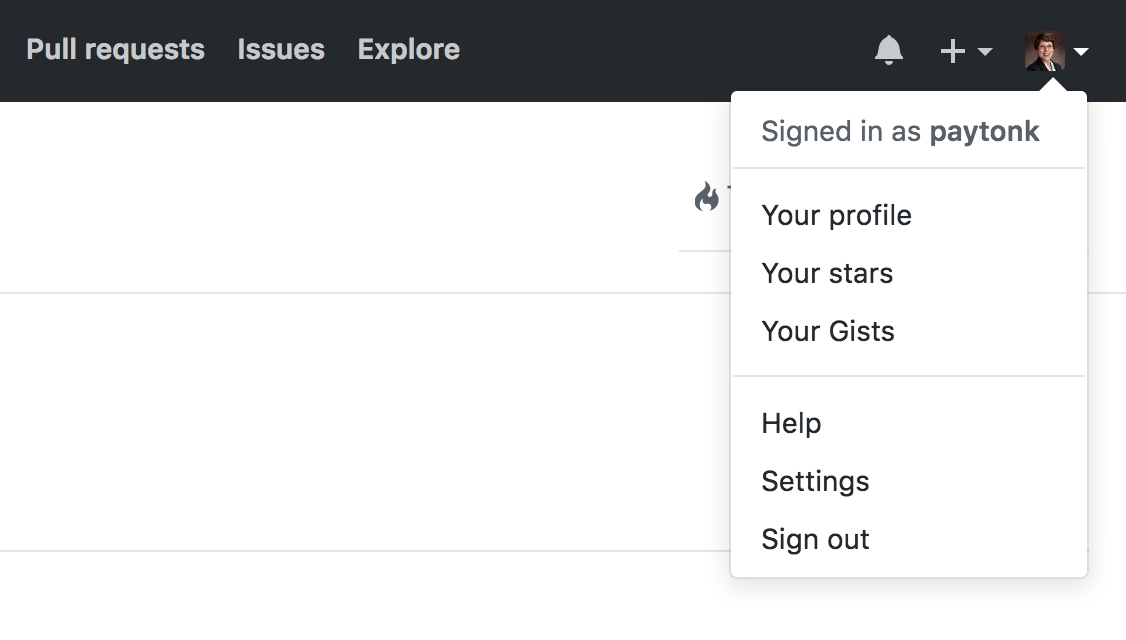
Once you’ve logged in successfully, click on your user avatar (for now it’ll be a weird geometric shape) in the upper right hand corner, and choose “Profile”. Then you can do things like add your photo (click on the avatar to change it), or add a bio. It’s sometimes actually convenient to have your photo attached to your profile, because it makes it easier to see quickly who’s done which changes at a glance. Your call!
Your first repo!
For just a little while, we’ll work entirely in the GitHub website by itself, without adding in the GitHub Desktop software. Then we’ll learn how to use both tools together.
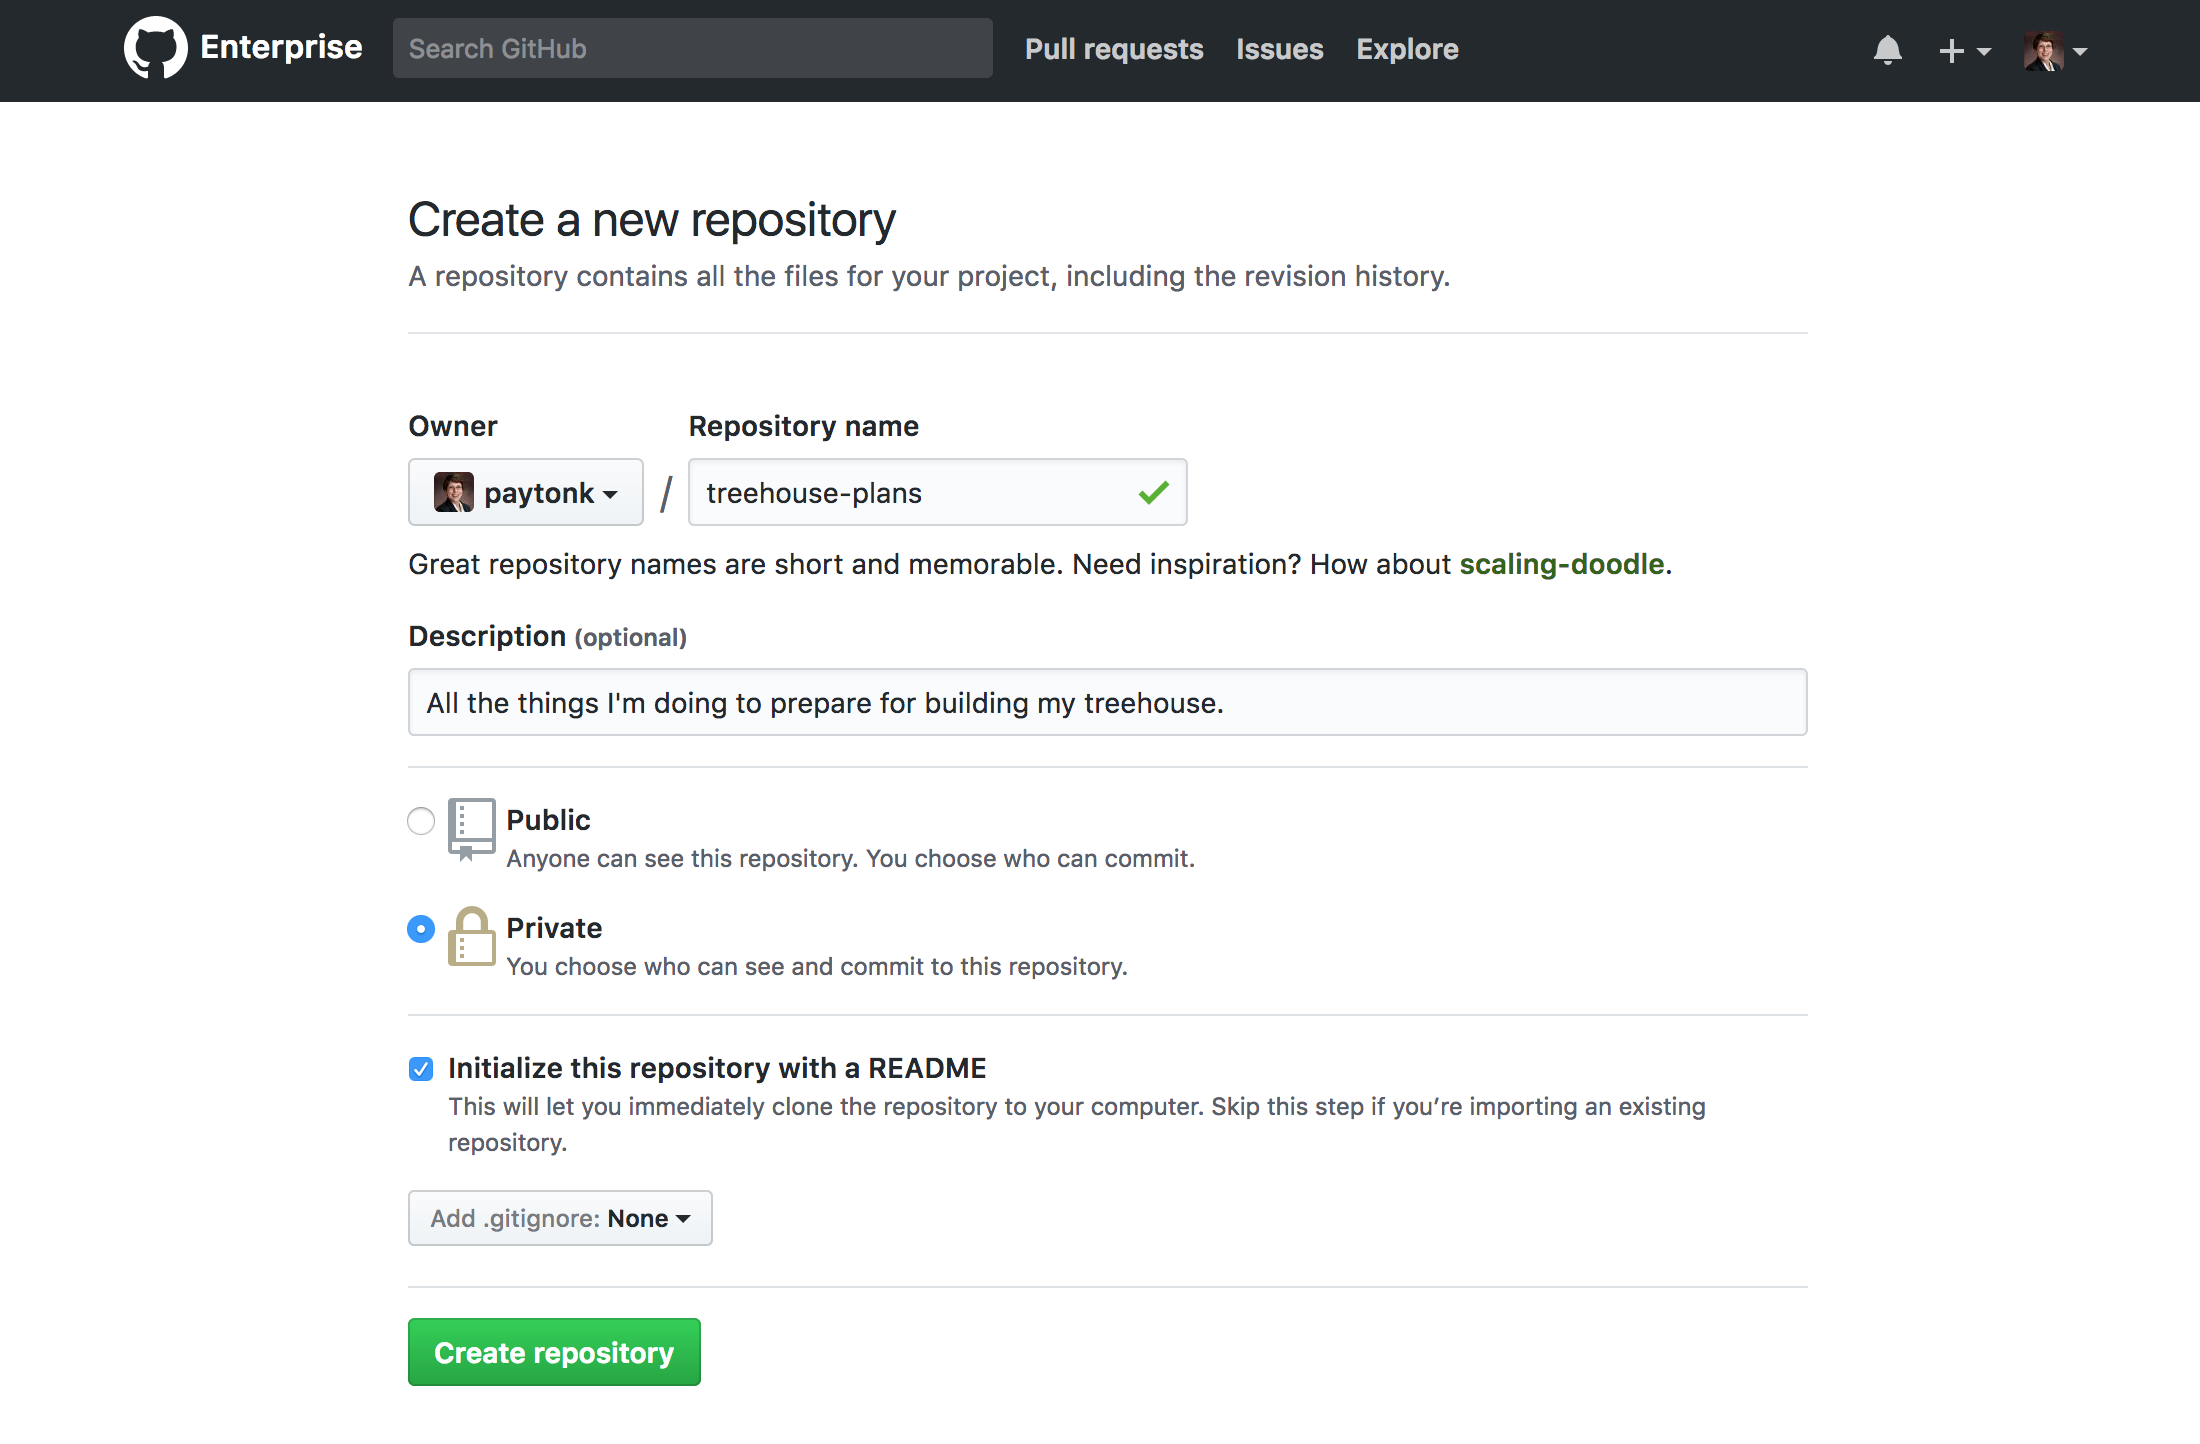
To begin, find the ‘+’ button in the top bar and choose “New Repository”. Name it whatever you like, and add a description. For now, choose “Private” as your repository. You can change these easily later, if you change your mind. These pieces of data are not themselves under version control. Click the box that says “Initialize this repository with a README” (it’s not mandatory, but it’s a good idea!). Now the green button should be lit and you can click on “Create repository”.
Congrats, you now have a GitHub repo. Now, let’s add to the README.md file. It’s special because it shows up as the first thing you see when you look at a repo, and you can change the formatting using “markdown”. There are tons of places to learn markdown, and it’s used well beyond just GitHub, but we won’t spend much time here.
Markdown – a very quick intro!
First, click on the blue link that says “README.md”. Notice that GitHub made a couple of educated guesses to help you out – it went ahead and added the title of the repository and any description you added. You can, however, put any text you like here. Click the little pencil to edit this file.
Just try typing a few paragraphs of descriptive text and a few headers (headers have one or more # preceding the text). Something like what I did below:
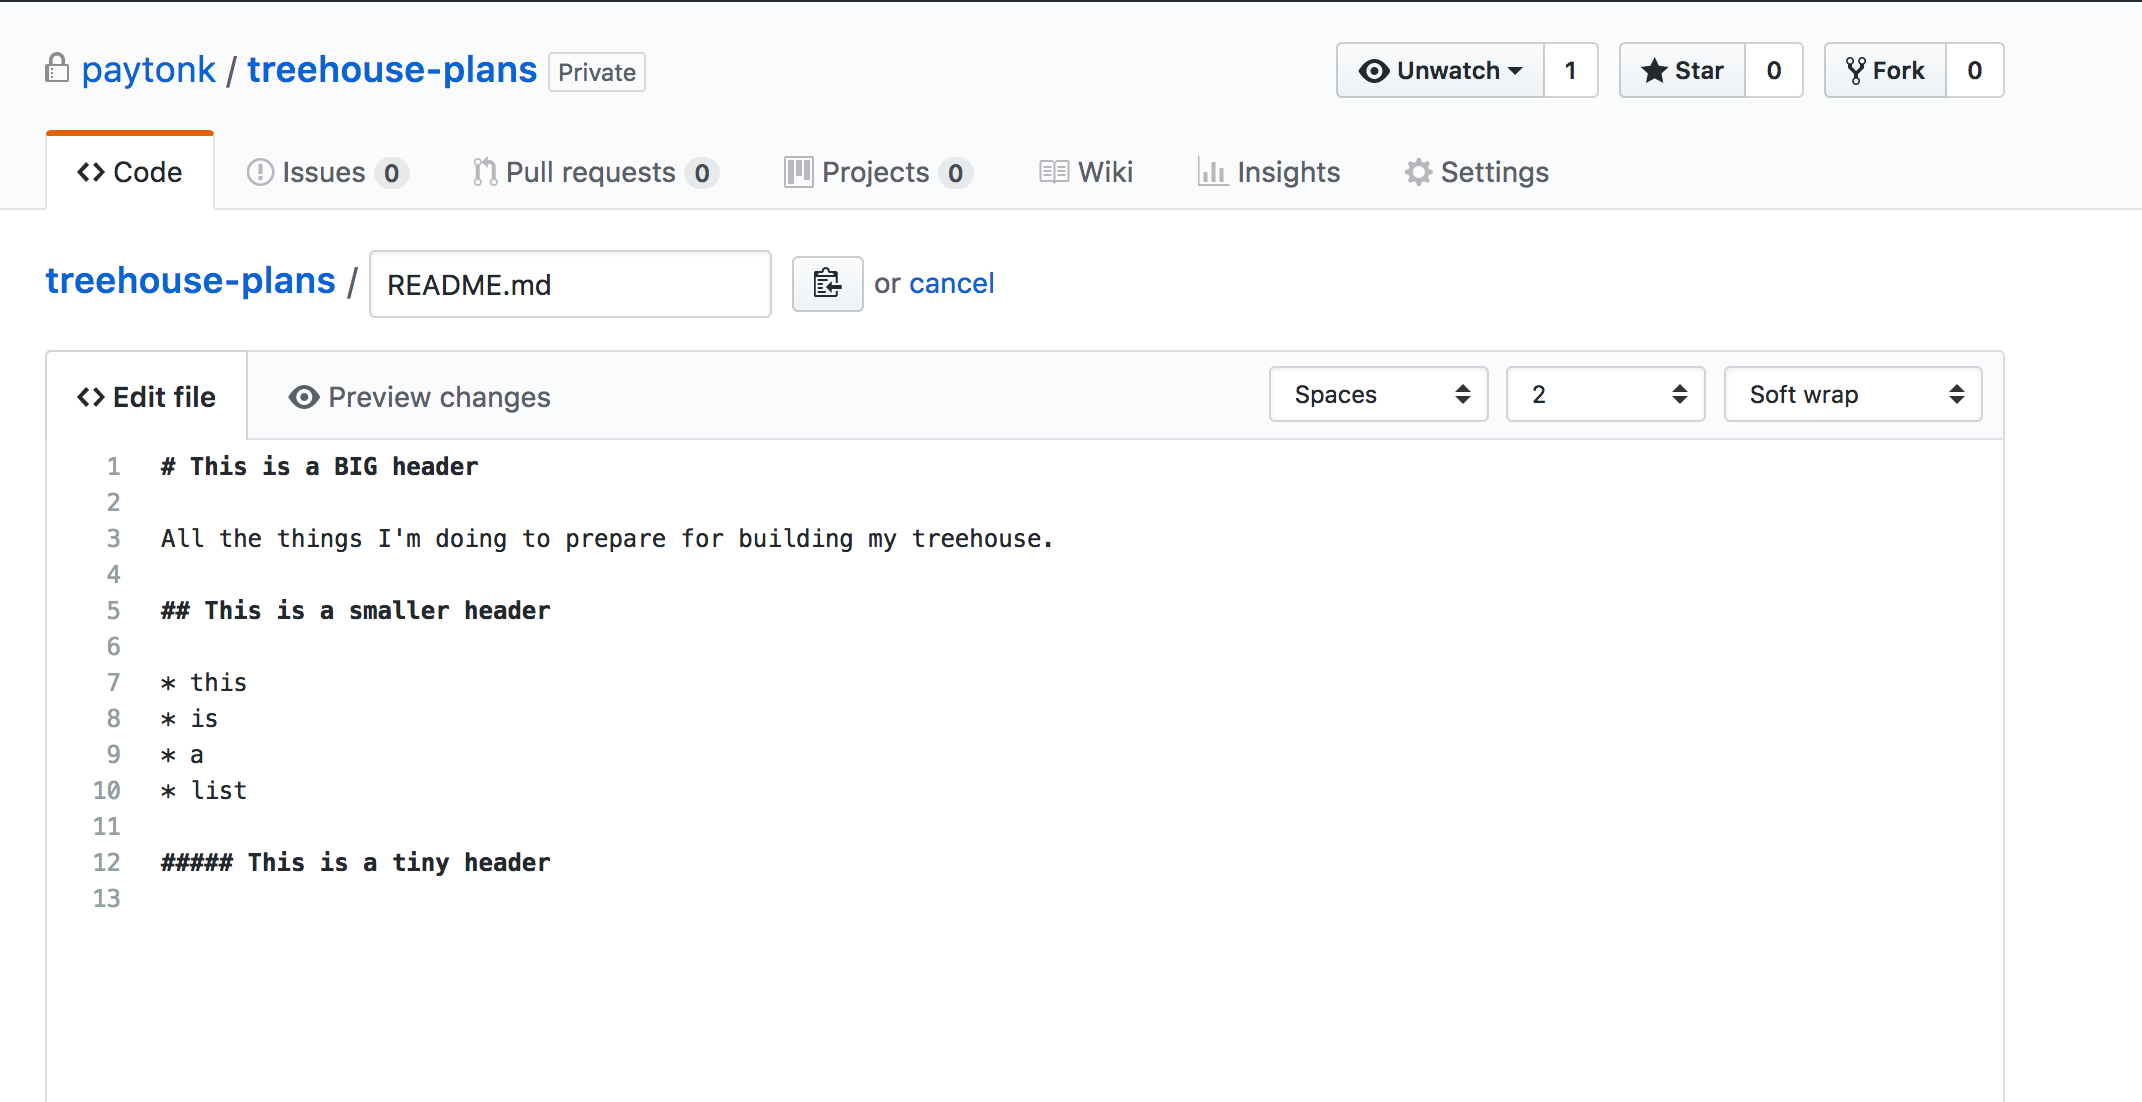
Try “Preview changes” to take a look. Don’t worry about any red, yellow, or green lines – they just show you things that you’ve deleted (red), changed (yellow), or added (green) in your edit window.
Feel free to go back and forth between editing and previewing your changes as you experiment with markdown. When you’re ready to make the changes into a version that will be saved, then you’re ready to make a commit.
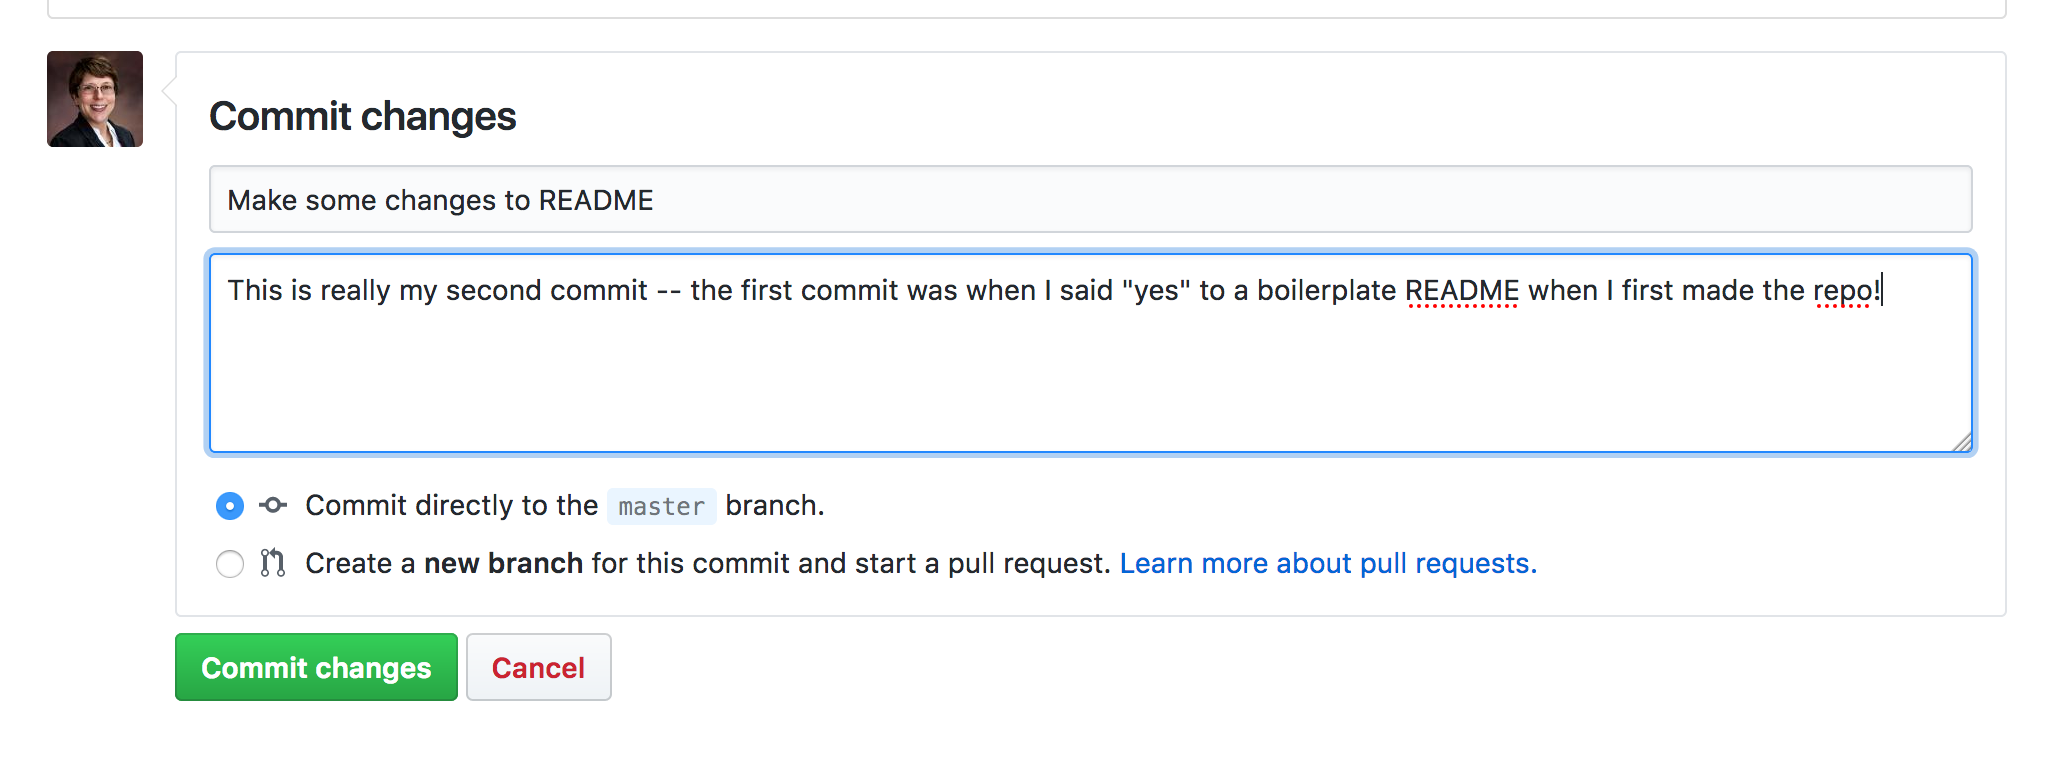
Scroll down to “Commit changes”. GitHub has tried to guess what a good commit comment would be, but why not put your own in? By convention, most people put comments in present tense, so “Make first attempt at README” instead of “Made first attempt…”. Put in a brief phrase that will be a good reminder of what you did, and maybe add a description as well!
Leave the “commit directly to the master branch” selected, and hit the “Commit changes” button.
History Lesson
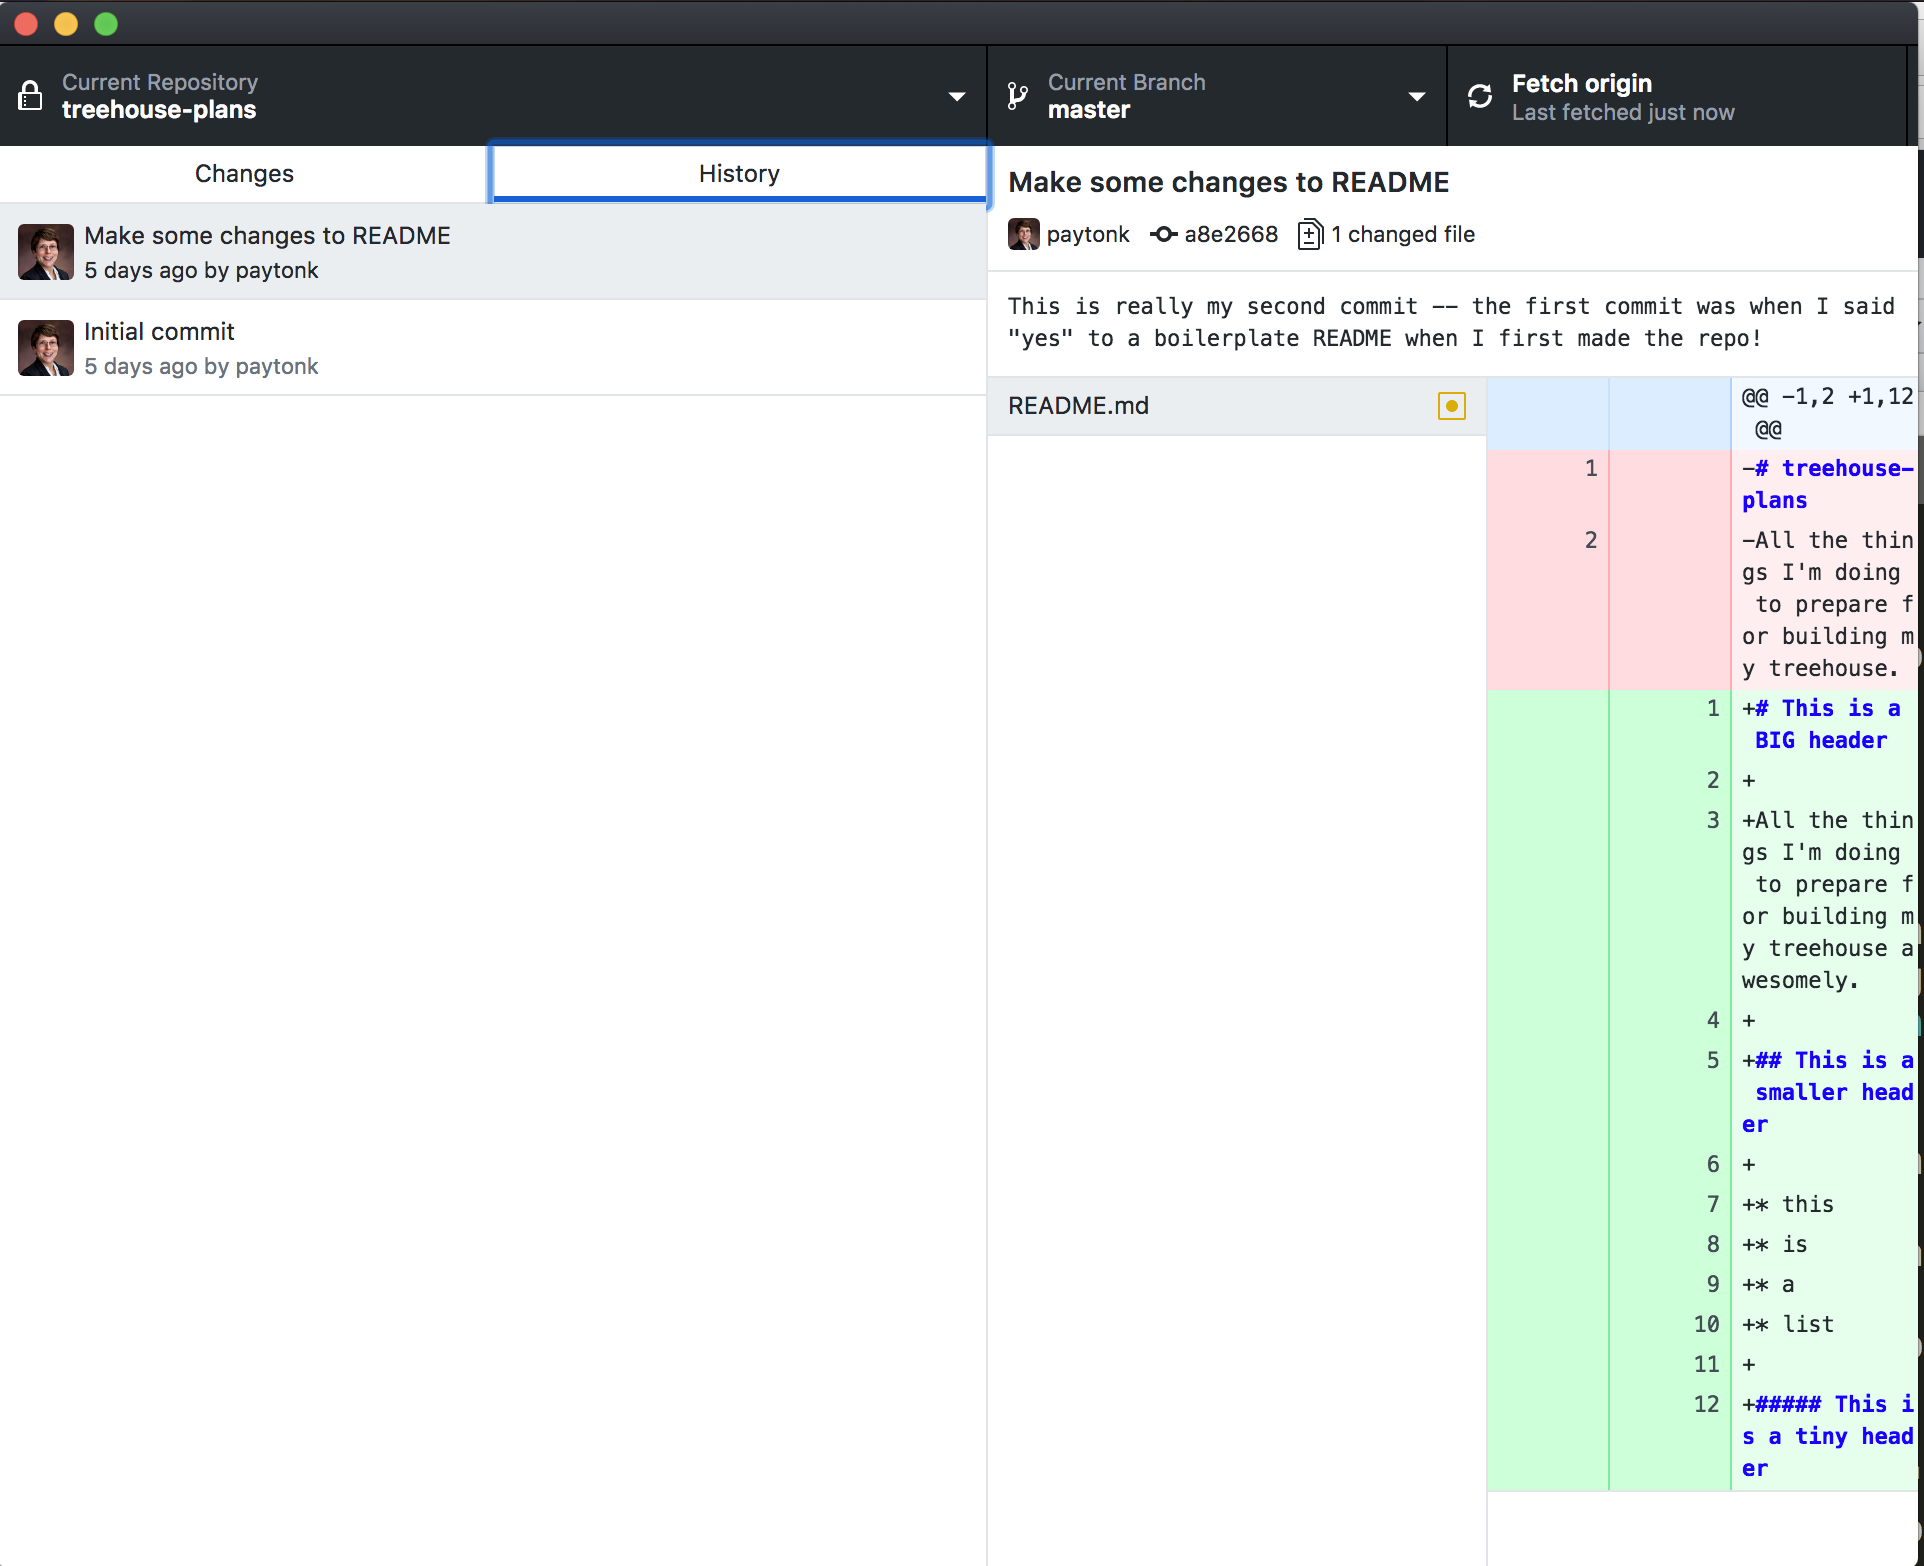
What if you need to go back in time and look at old versions of your files? Or see what exactly changed from one version to another? If you’re looking at a single file (like README.md), there’s a history button just for that. Click it and you’ll see a list of commits, each with its own alphanumeric code (a hash code) that identifies it.
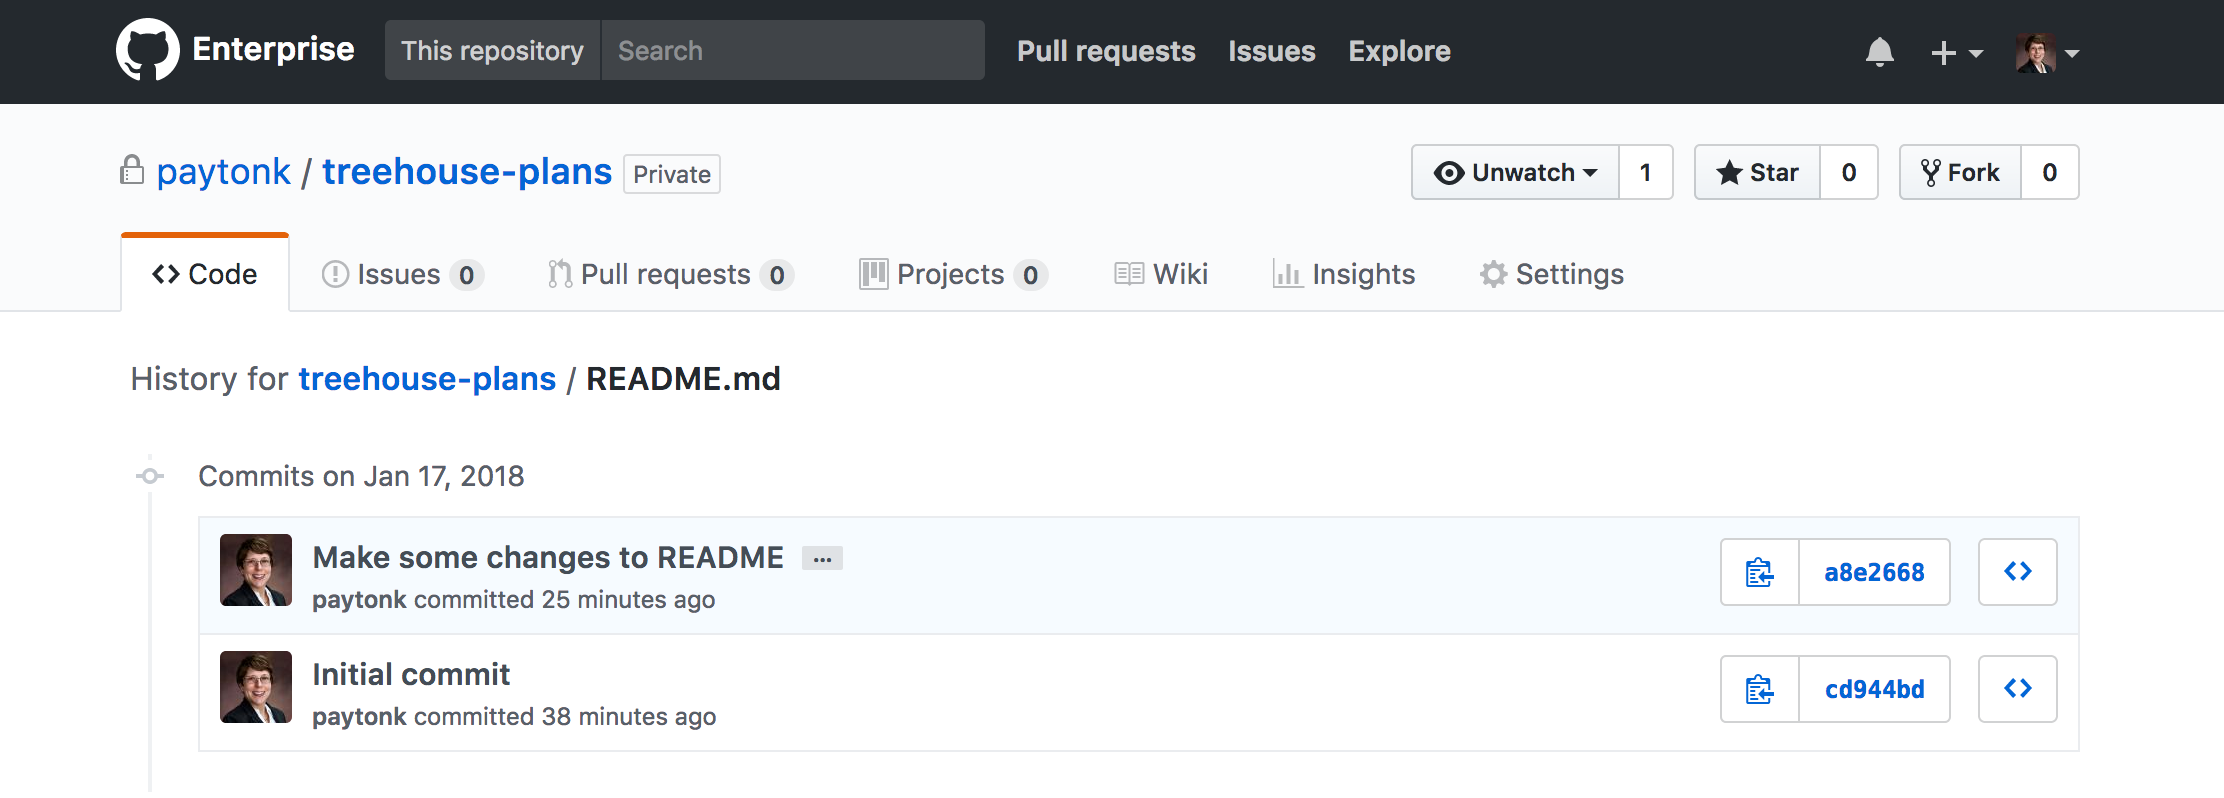
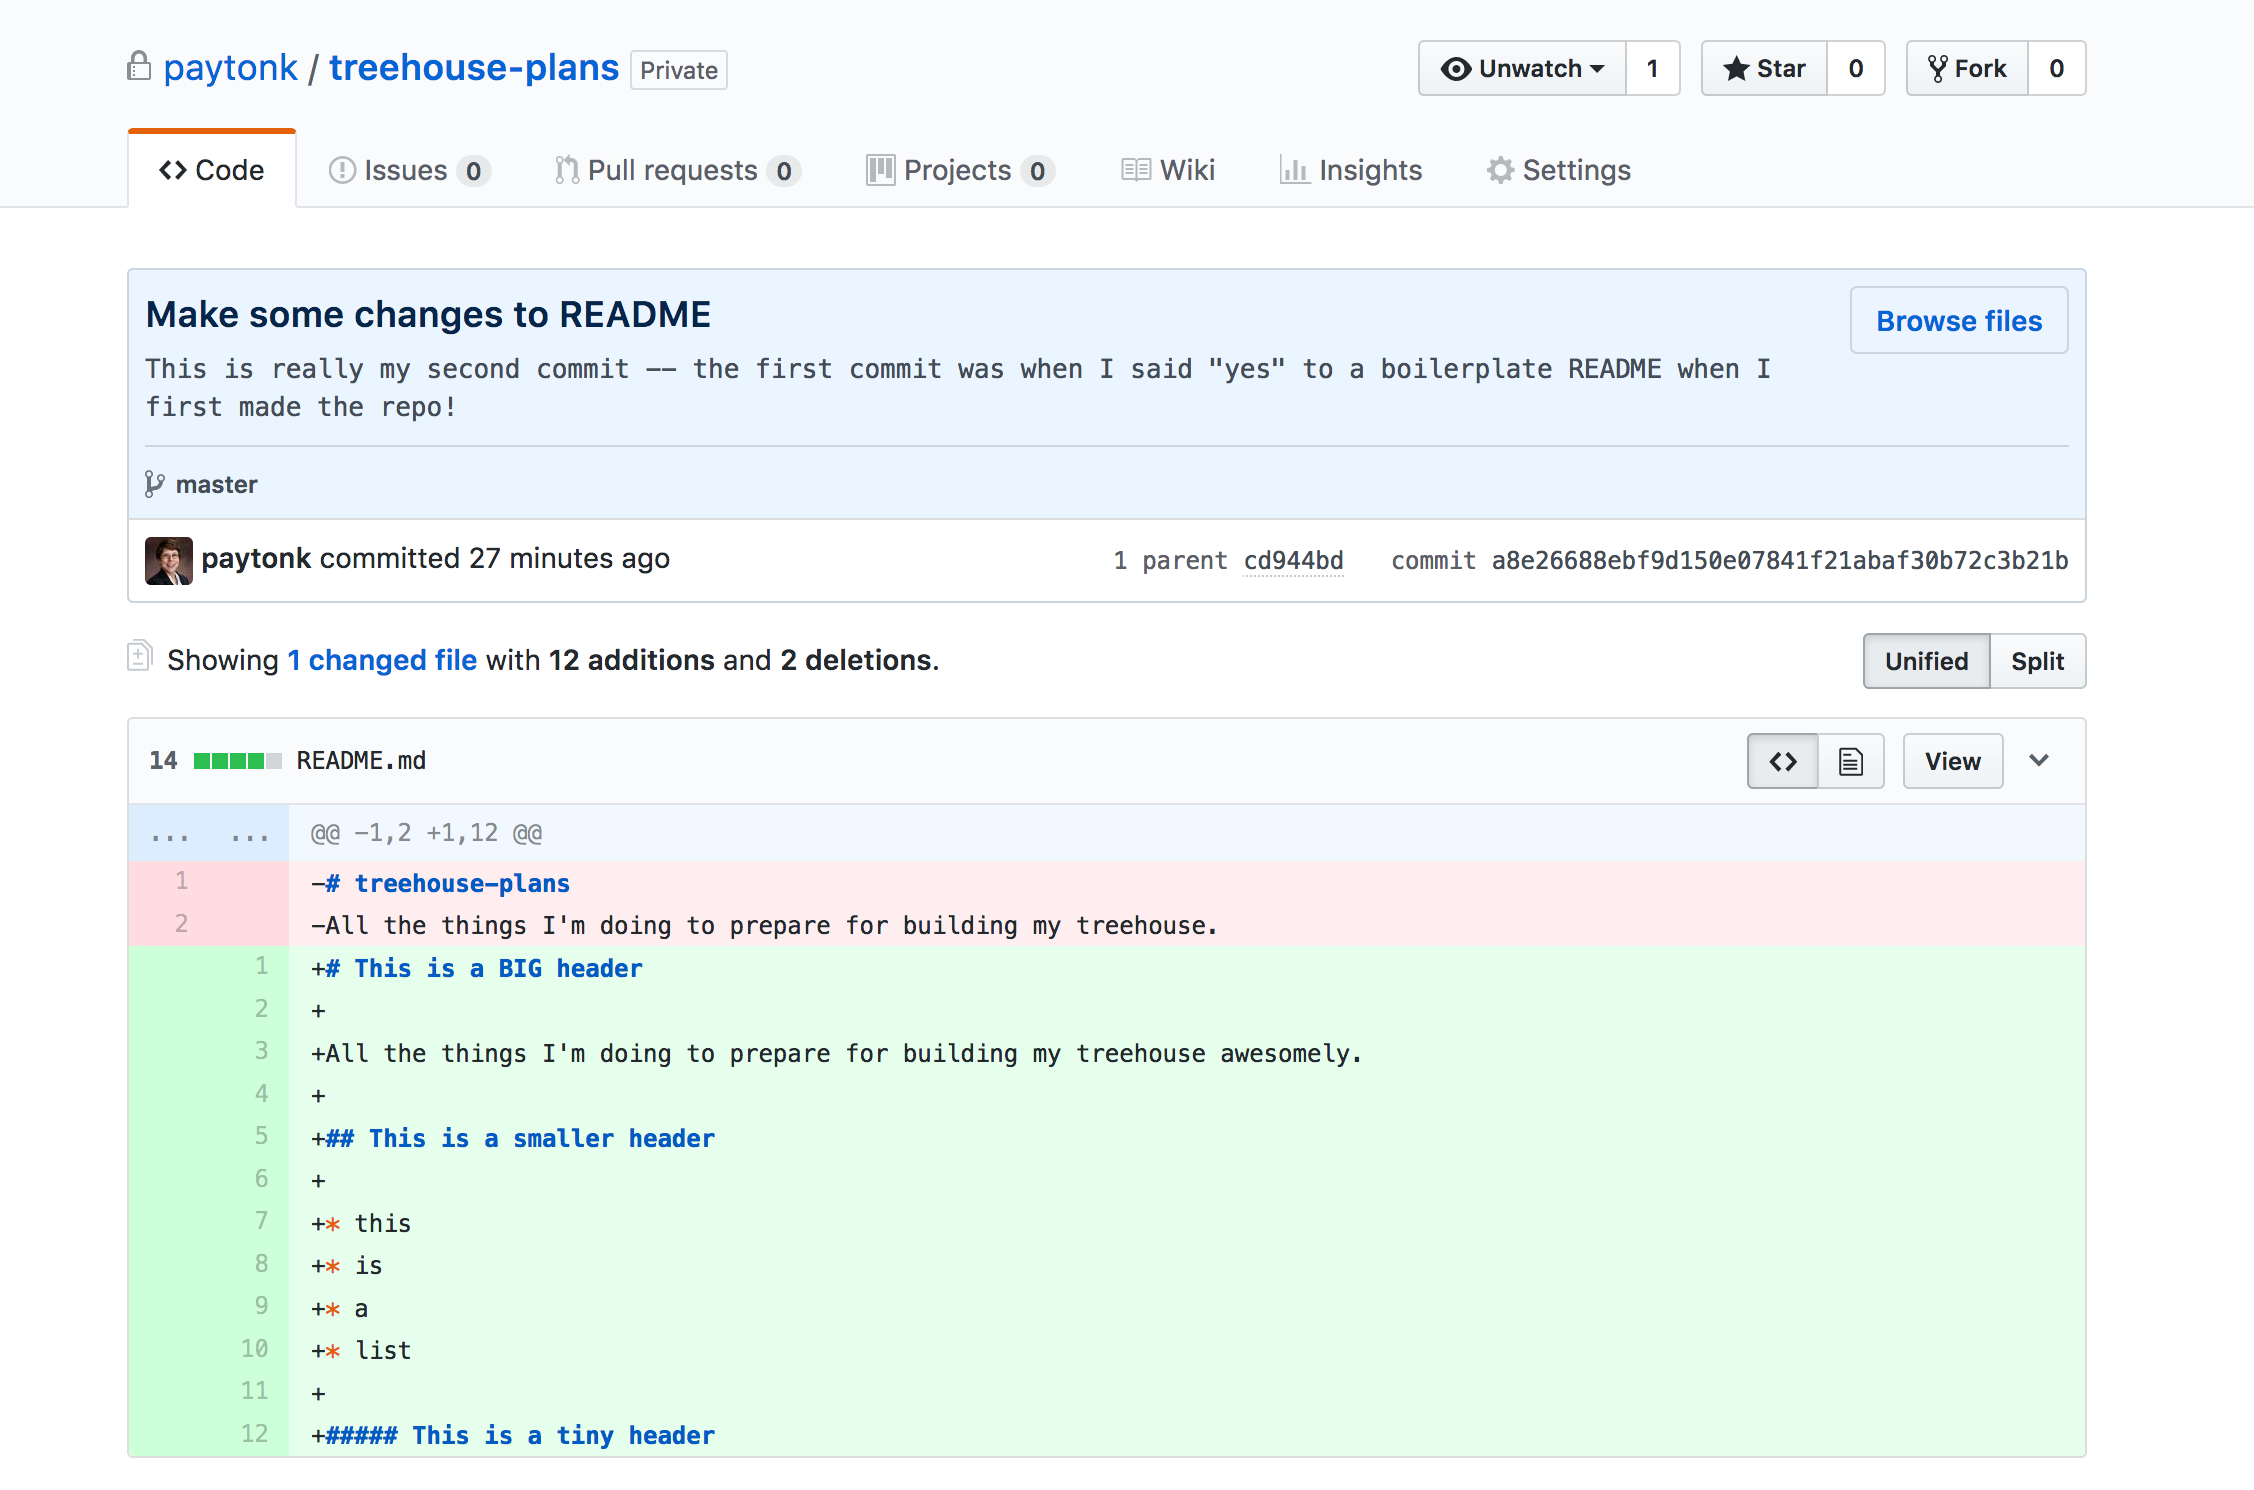
Click on the most recent (top of the list) commit code. In my case, I’m going to click on “a8e2668”. That shows me exactly what changed in this file in that commit. This kind of view, that shows the changes from one commit to the next, is called a “diff”.
If I wanted to see what the whole file looked like (not just the diff) once that commit was made, I could click the “Browse” button. I can always find old versions of any file I’m using!
Enter GitHub Desktop
GitHub Desktop has recently undergone some radical improvements, and for awhile didn’t work that great on all systems (while it was in beta). Although I haven’t had any problems lately, its possible that you might encounter a bit of difficulty too.
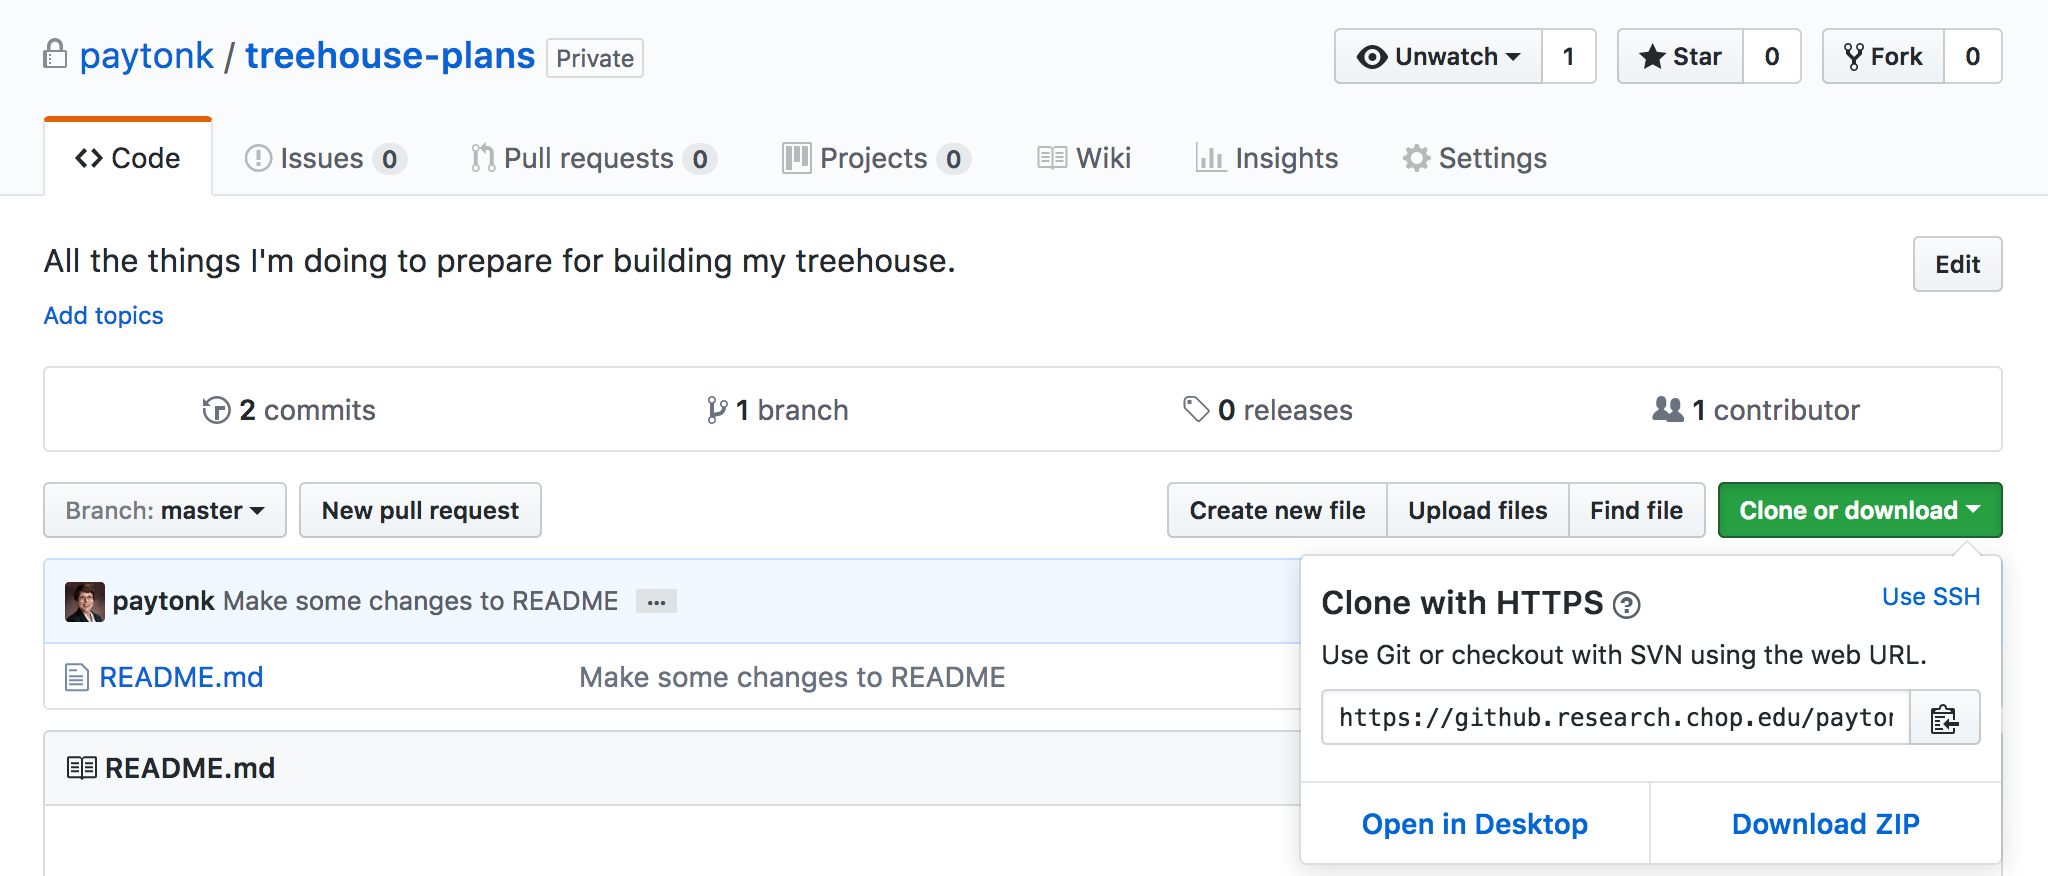
In GitHub, go to the main page for your repository (click on the repository name). Then click on the green “Clone or download” button and choose “Open in Desktop”.
If you don’t have GitHub Desktop installed, you should get a prompt to install it. Then you can follow the setup instructions found at https://help.github.com/desktop/guides/getting-started-with-github-desktop/setting-up-github-desktop/.
From among the instructions you’ll find at the link above, let’s highlight two very important things:
- It’s important to set up your “Enterprise” account by using your username and password that you use to access GitHub at CHOP. The server address is https://github.research.chop.edu.
- You should also add your name and email address, so that the changes you make show up attributed to you.
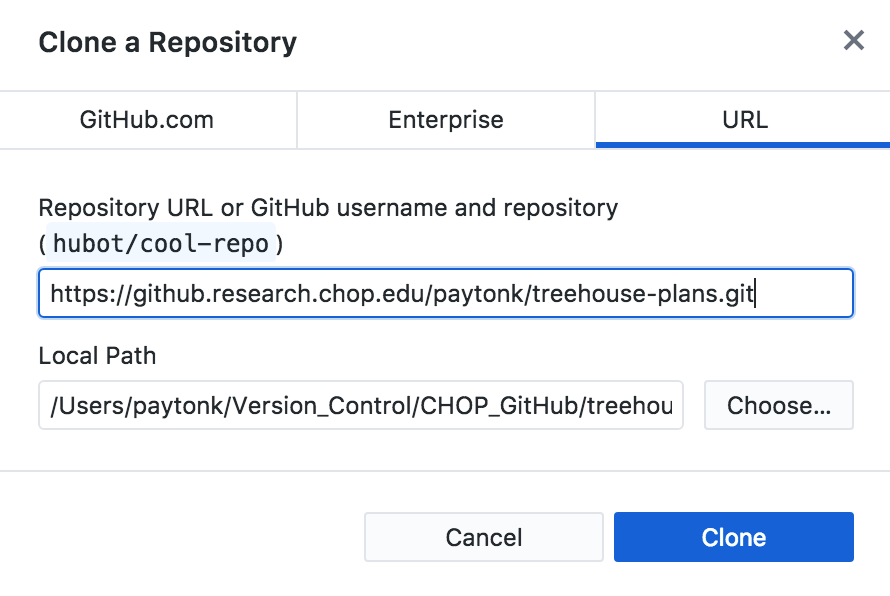
Great, once you have your GitHub Desktop client set up and working, the “Open in Desktop” clone option should open the client and ask you where you want to save the repository (the local path). I generally have a directory called “Version_Control” and underneath that a few directories for categorizing my repositories by their purpose or source. You can do what works for you. Pick your local path, then click “Clone”.
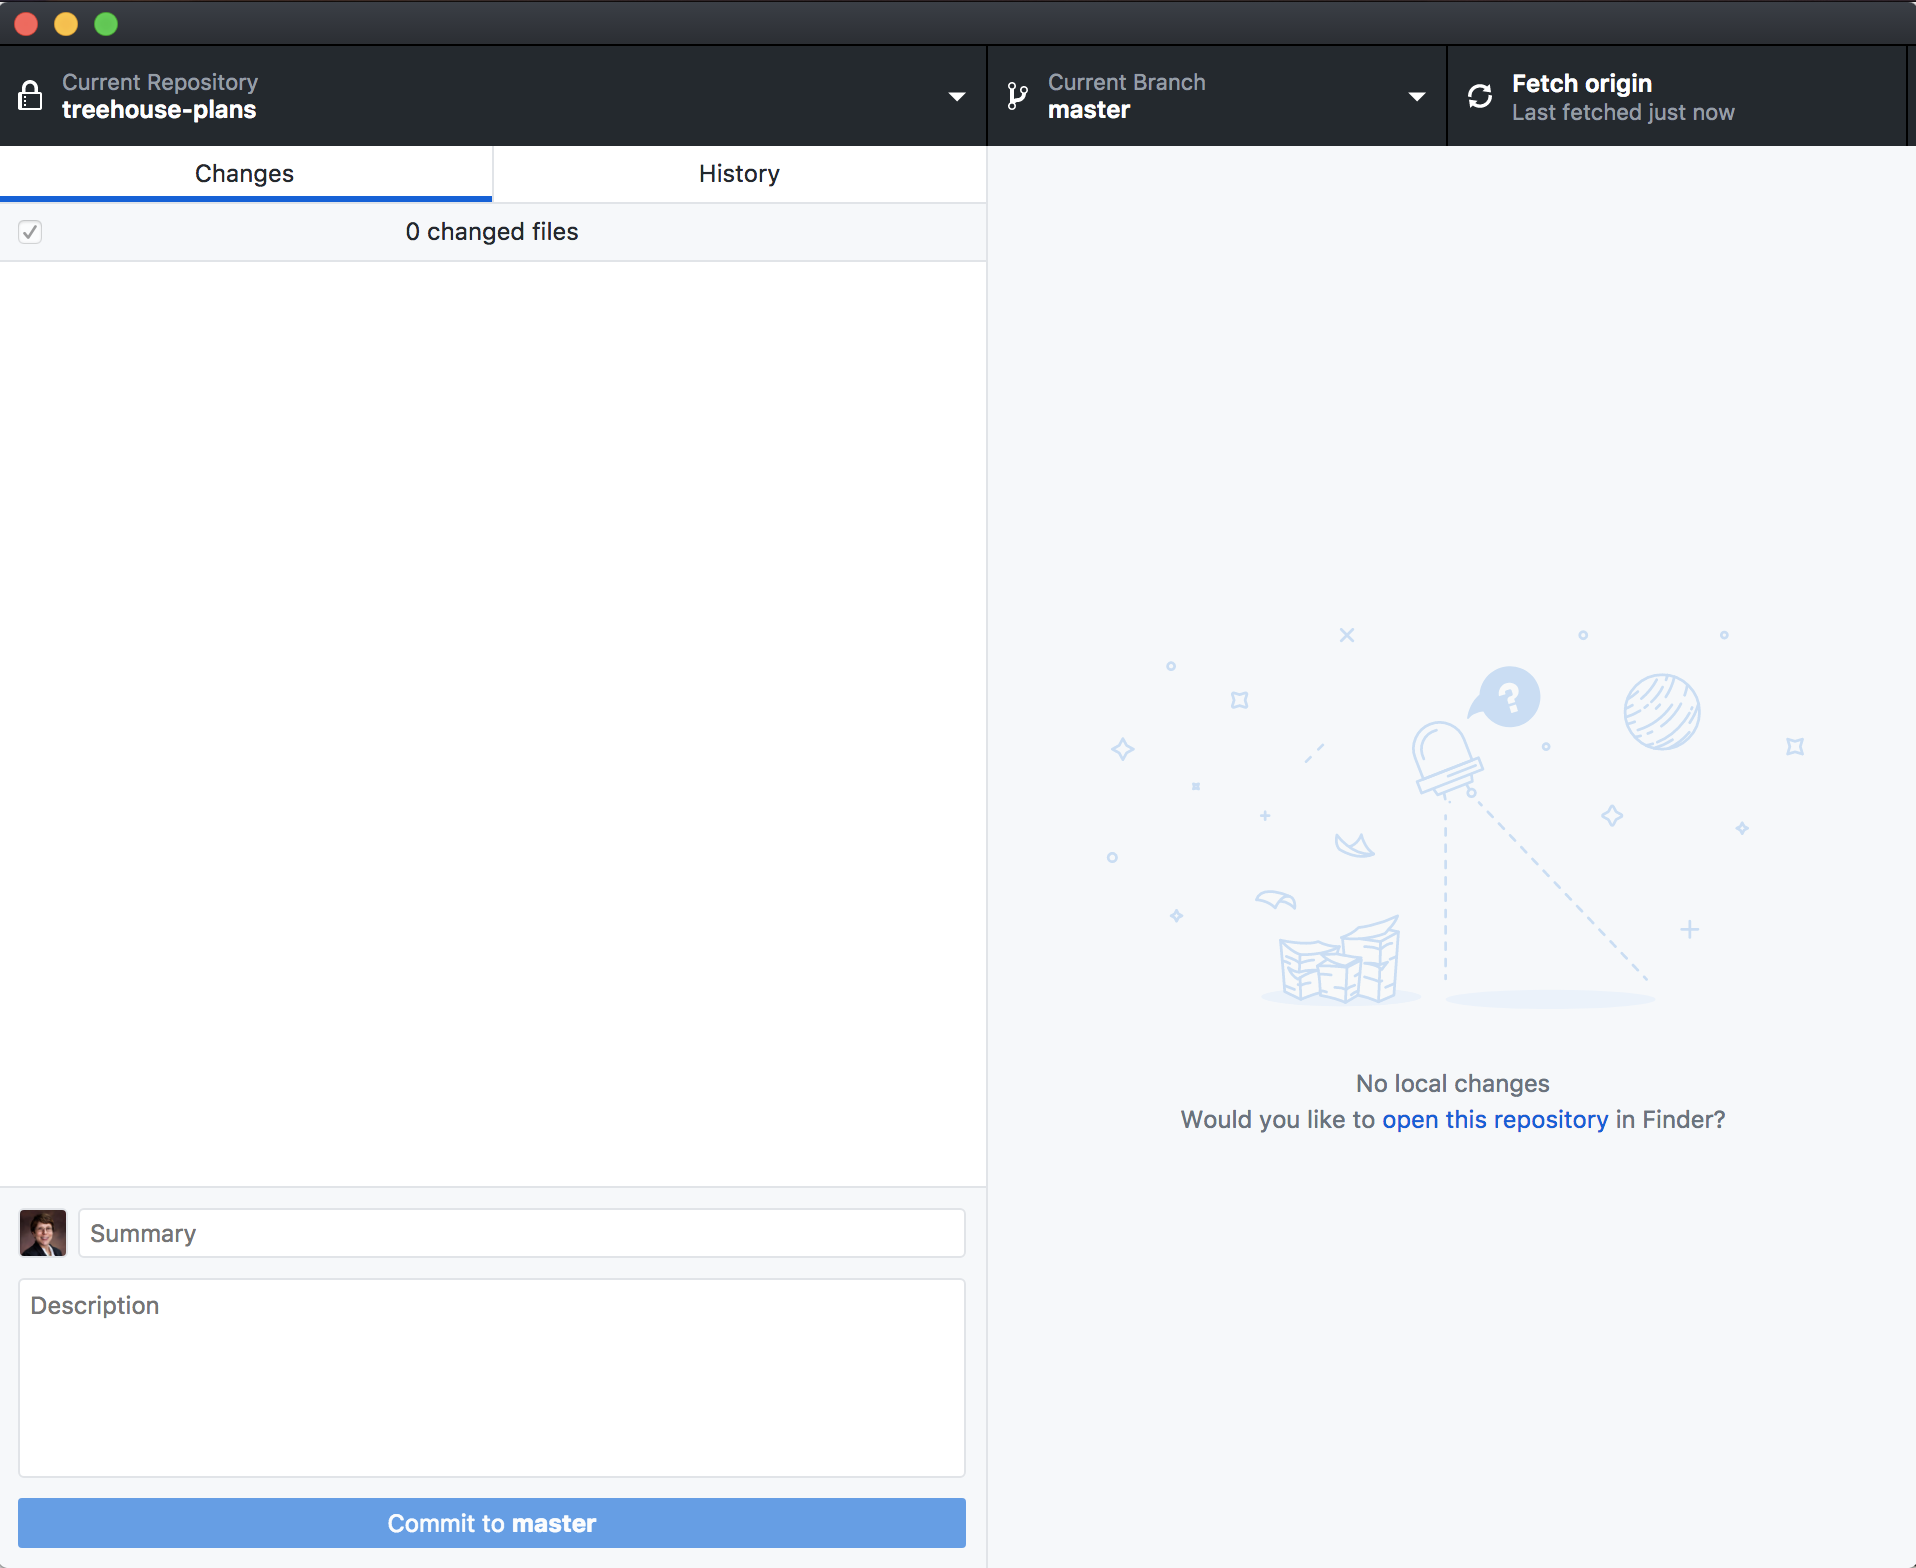
Once the repository is cloned, you’ll see a window that looks pretty blank, because it shows local, uncommitted changes (which you don’t have any of, yet).
But if you click on “history”, you can see the same info that you just saw on CHOP’s GitHub Enterprise website.
Making local changes
Let’s say you want to add a file to your repository. In my case, my repository includes treehouse plans, so I’ll add some additional files related to that. I like using Sublime Text (free to try) as my text editor, but you can use any text editor (NOT word processor) you like.
First, I’m going to pretend that I have multiple collaborators who could have made changes I don’t know about. I will check to see if they have pushed any changes to the GitHub repo by clicking “Fetch origin” in my GitHub Desktop window. That means I’ll now be making changes to the latest and greatest versions, which keeps me from accidentally having any change conflicts with my (imaginary) collaborators.
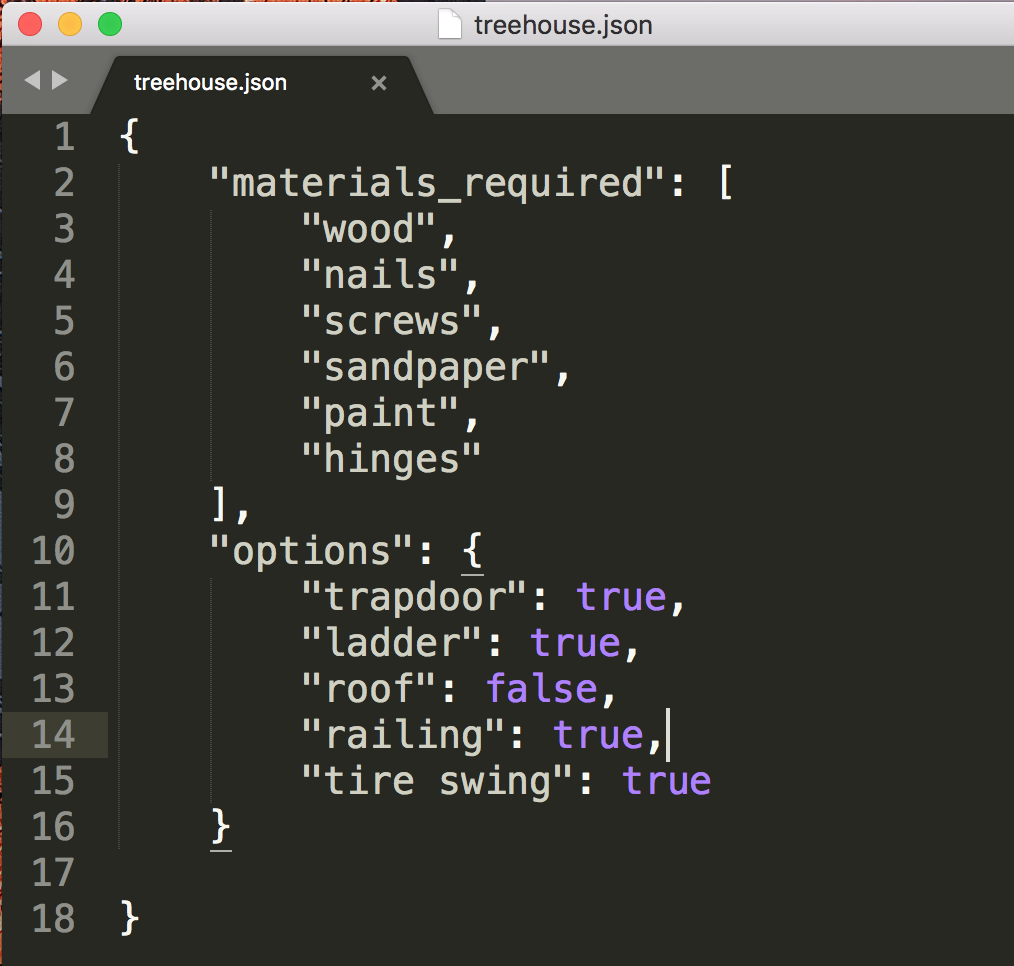
Now, I’ll create a “configuration file” that includes some of the details about my treehouse. I’m going to make this in json, just for fun, but you can use any text-based file (including just a typed out list) to practice. This is what my file looks like:
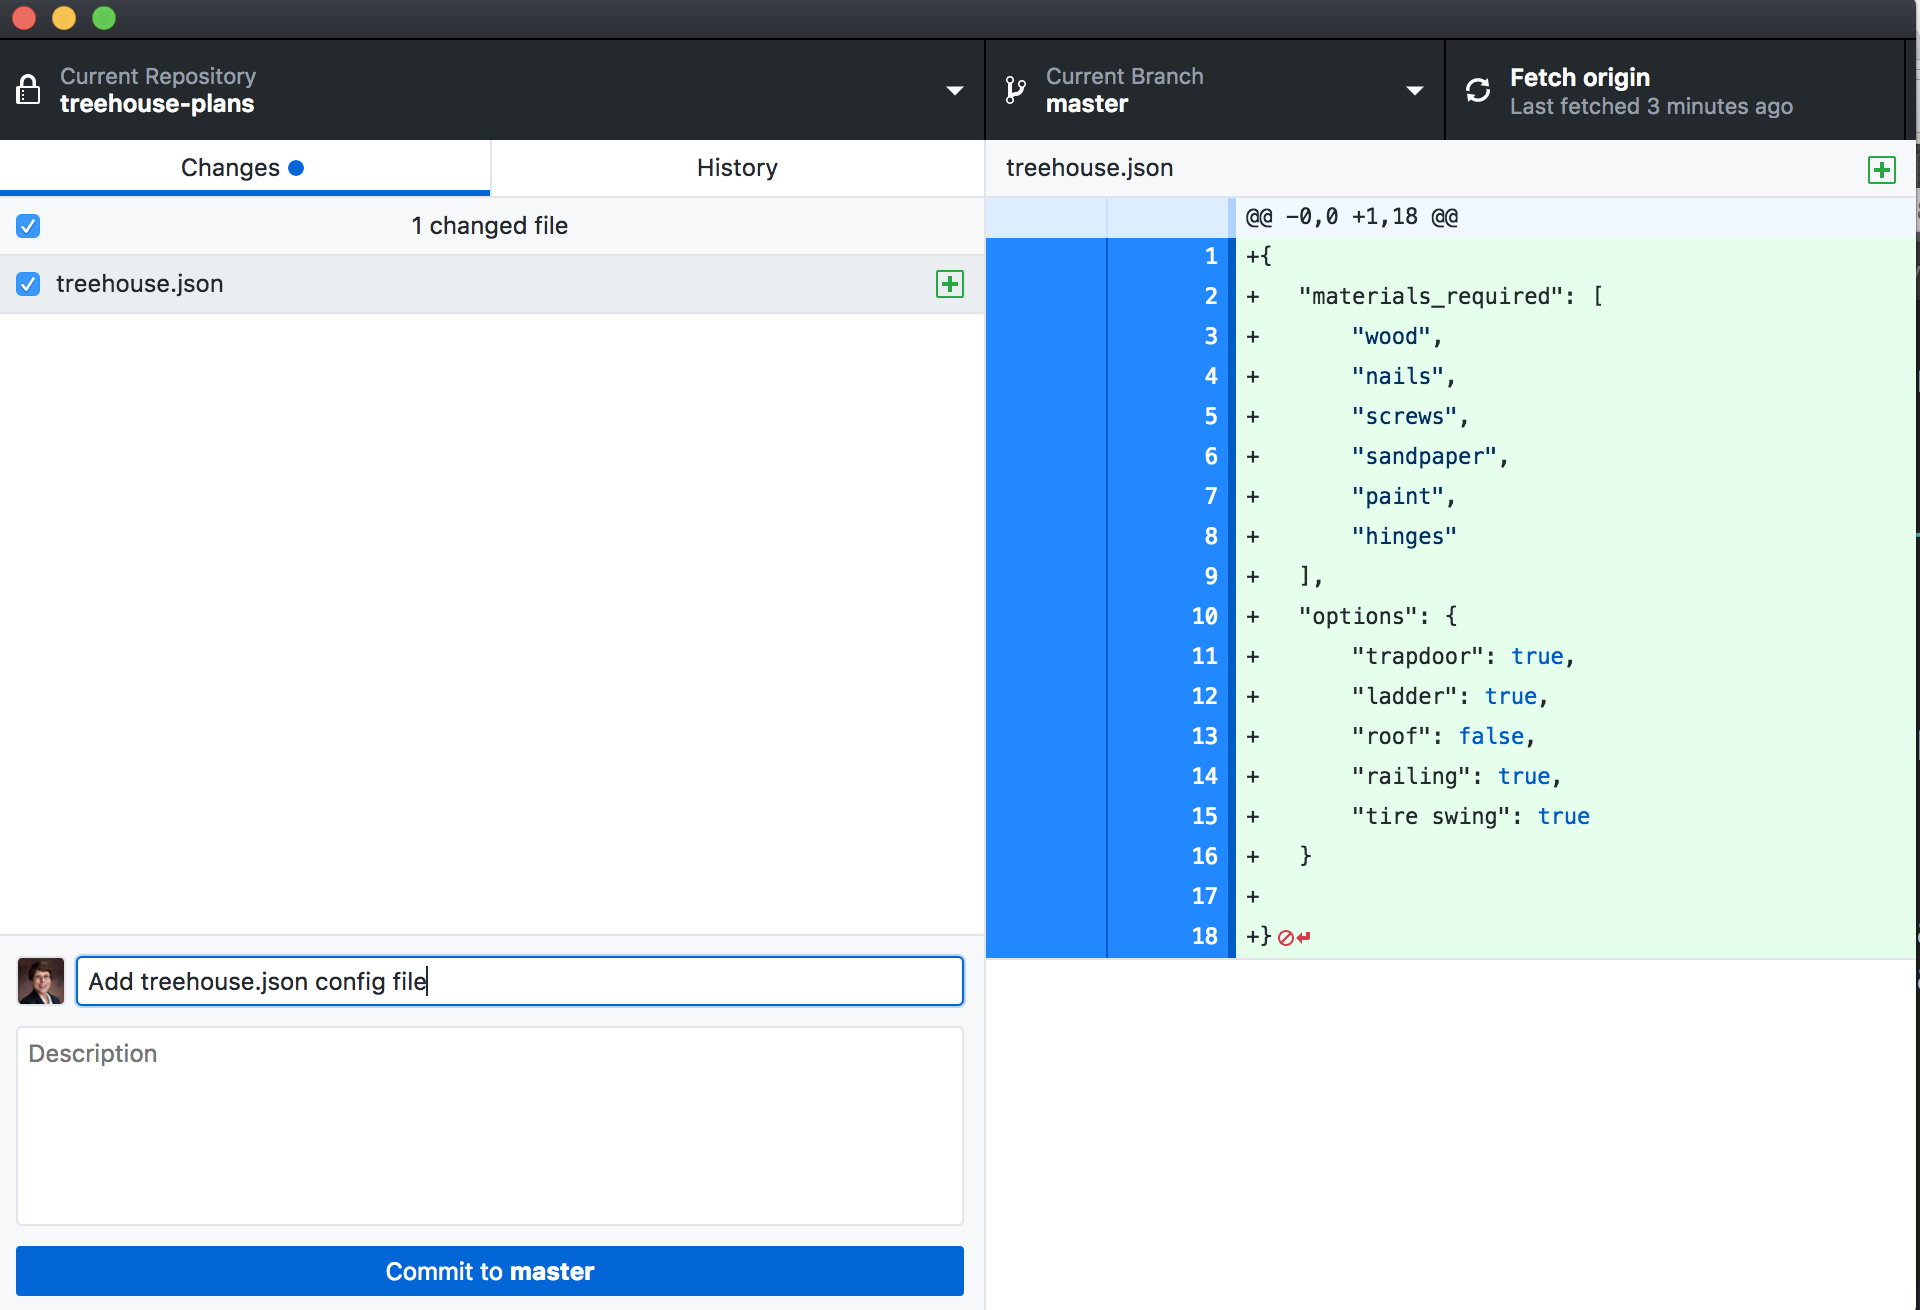
I save it in my local computer in the directory where my repo is.
Now, when I go back to GitHub Desktop, I see that there are some changes in the “Changes” pane. I’ll leave the file checked to say that I want it to be included in the commit I’m going to make, and I write a useful commit message and click “Commit to master”:
Then I click on “Push origin” (upper right) so that my changes get synched to GitHub. If you’ve been following along, at this point you can check out your repo in GitHub and see that your changes are included.
In our next few GitHub posts, we’ll talk about:
- using .gitignore to leave some files out of version control, even when they’re in the same directory, and why you might want to do that
- separating changes out into multiple commits
- the idea of branches and how to use them effectively
- adding collaborators to your repository